December 15, 2004
This will never work
To say that I was nervous about assembling the Croqombouche is understating it quite a bit. I figured it was either going to be a) a complete success or b) a total failure. I figured that if nothing else, we could just pile up the cream puffs and present it that way.
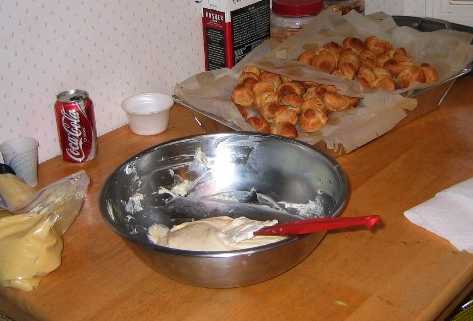
First up the next day was filling the cream puffs. I like to use a combination of pastry cream (seen in the plastic bag to the left in the photo) "lightened" with sweetened whipped cream. You can see how much lighter in color the filling gets when you do this. I think that pastry cream by itself can be a bit too heavy inside of a cream puff. This combination is technically known as "diplomat cream."
Only 1 million left to go
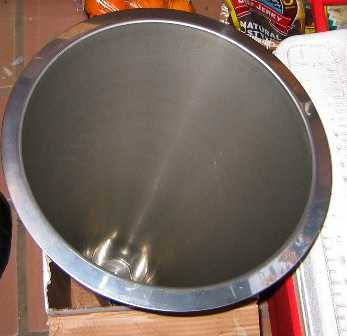
While Mark and Derrick were busy getting the puffs filled, meriko and I started in on the mold. This one is about 19 inches high and about 12 across. It's a specialty item that you can order over the Internet. They are expensive and really only useful for this one task. Not the most practical thing to buy, but there you go.
Before filling, we oiled down the interior very well -- this doesn't keep the carmel from sticking, but does make it possible (one hopes) to get it to release later. We used a cardboard box to hold the mold when we were not actively filling it, but most of the time meriko had to hold the hot, and increasingly heavy mold.
19 inches of stainless steel terror
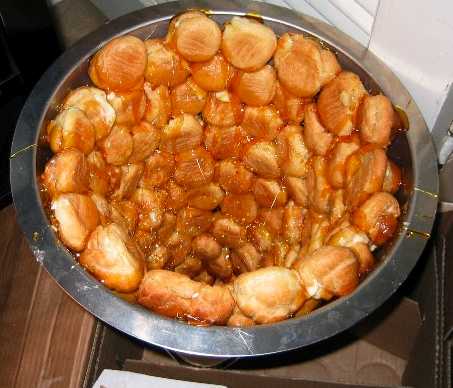
We didn't get any action shots while the filling was going on. Between people filling the cream puffs, making batches of carmel (it took three of them), filling the mold itself, cleaning up, or just staying out of the way, picture taking didn't happen much. Filling the mold took about an hour. It went pretty well and once we got into the groove it also went pretty fast.
Each cream puff is dipped in carmel (with tongs when the carmel is still very hot, and later with careful finger tips) as much as possible without burning oneself. Then the puff is positioned into the mold, working up the sides and around. Both of the "fillers" wear latex gloves, so that when (not if) a bit of carmel hits your hand you a) have a bit of protection and b) can pull the latex away (or the entire glove off) to get the heat off your hands. The outside of the mold also gets hot as the metal begins to wick away the sugar's heat.
If you've never worked with carmel before, it's very hot, and sticks to you when it hits. Some of the worst burns you will ever get in a kitchen can come from it. I only managed to get a few small drips on my gloves while I was working, nothing that was really even visible in a few days.
A dozen burns later
Extra carmel from the end of each batch was drizzled over a broomhandle (with plastic wrap over it and a bunch of newspaper on the floor below) using a fork to create carmel "strands." This is pretty standard sugar work, sometimes called "spun sugar" and is very fun and impressive. It's also, if you aren't careful kind of messy.

What a mess!
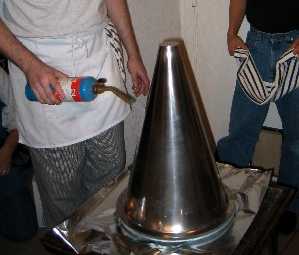
The carmel at this point has completely set (we waited around 15 minutes) and has secured the puffs to the sides (and hopefully to each other). In theory, or in a smaller mold, you might be able to release it via a spatula down the sides, but there was no way this was going to work this time.
Time for a welding torch, applied just enough to the sides to get the carmel to melt just a bit. Fireplace gloves and towels were then used to lift the mold away to reveal the hopefully still standing finished piece. We placed the mold on the final plate, because once you remove the mold, you really don't want to try to move it to another one.
Please let this work
After unmolding, the spun sugar is spiralled around the cone to help hide some/most of the carmel inperfections or drips. We finished it off around 4 in the afternoon and hid it in a back bedroom (with the furnace vents off) until it was ready to be revealed. Here's the Croqombouche on the table with me and William.
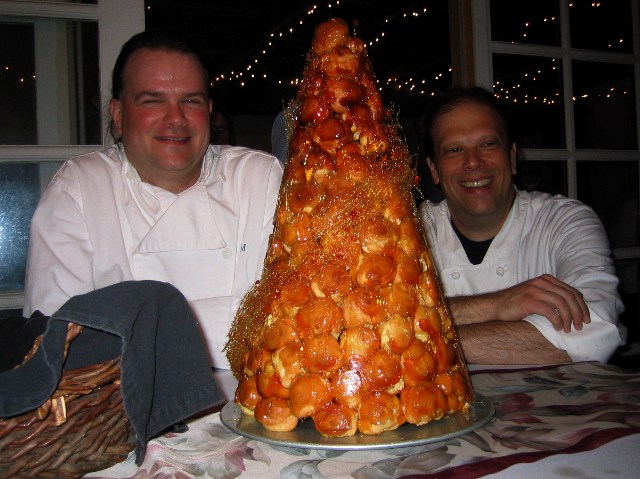
Wow
How do you eat it? You take a bread knife and hit, crack, and/or saw away the cream puffs from one another. I've been told that in England (where Croqombouche have become common at weddings) there is a tradition of breaking the entire thing at one go into a tablecloth. We disassembled it in a much less impressive manner for this party.
I simply cannot believe we pulled this off! It took almost three hours of work between all of the making and assembly, with involvement of the entire kitchen staff, and until it's done you really don't know what is going to happen. The final product was solid and was never in any danger of collapse. In fact, the next day the remains were still standing and still crunchy. The other thing that sort of amazed me was that it tasted good! The crunchy exterior of the puffs made them very different than normal cream puffs.
I'd certainly never (well, never say never) do this again as part of a larger party. But it might be fun to make (even a smaller one by partially filling the mold) for some other occasion when there wasn't also lots of other cooking needing to go on.
Posted by dowdy at December 15, 2004 09:30 AM